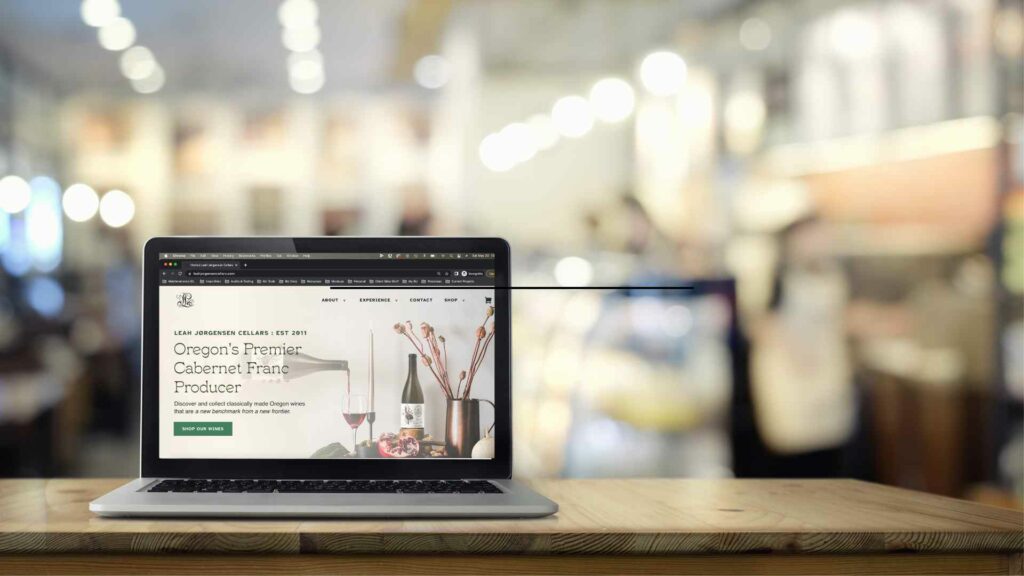
Consider your pixel dimensions.
Unless your customers plan on visiting your website on a large screen TV, you’re probably fine with an image that is no more than 2000px wide, even for full-width images. Even better, if you know an image is only going to be displayed at 300 px wide (i.e. your logo), size it down even smaller. Pro tip: to make things look perfect on retina you need to save it at double the size- i.e. save your logo at 600px then display at 300. Even better, save your logo as an SVG for perfect resolution every time.
Save your images at an appropriate resolution or ppi (pixels per inch)
Tools like Photoshop or PicMonkey can be used to resave images at a lower resolution- I generally keep mine in the 150-250 ppi range (for reference, 300ppi is print resolution).
Use an image optimization service
If you’re a Wordpress user, a plugin like Shortpixel, Imagify or Smush will take care of this for you (these all have limited free versions and more extensive paid versions). I’m not sure what kind of magic these plugins work but they can reduce your images by 20%-50% without a noticeable loss in quality. Squarespace or Shopify users can use a website called Tinypng.
Finally, if your web host supports it, convert your images to webp, which is the format recommended by Google. You’ll still need to provide a jpeg/png fallback option (jpegs tend to be smaller than pngs)- most of the image optimization plugins can automate this process for you.
Remember: the goal is that no one image is larger than 200-300 kb, and 1mb total per page- so do the math, limit your photos per page (i.e. 200kb per image = 5 per page), and optimize those images!