Recently I was asked on my Instagram, "How do I build myself a website?" I love supporting businesses and organizations so I am tackling this question in today's tutorial.
While DIYing a website for your organization or business is not for the faint of heart, it absolutely can be done! Roll up your sleeves and get ready for some extensive work ahead. This tutorial will take you through the basics of the planning, development, testing and launch a website, packed with lots of links for further reading and helpful tools. It will help you decide if doing a website yourself is reasonable, or if you need to invest in a web designer to create your professional website. Here’s the short list of steps:
Step 1: Determine your goals, limitations and budget
Step 2: Pick a Platform & create staging site
Step 3: Develop your content & visual style
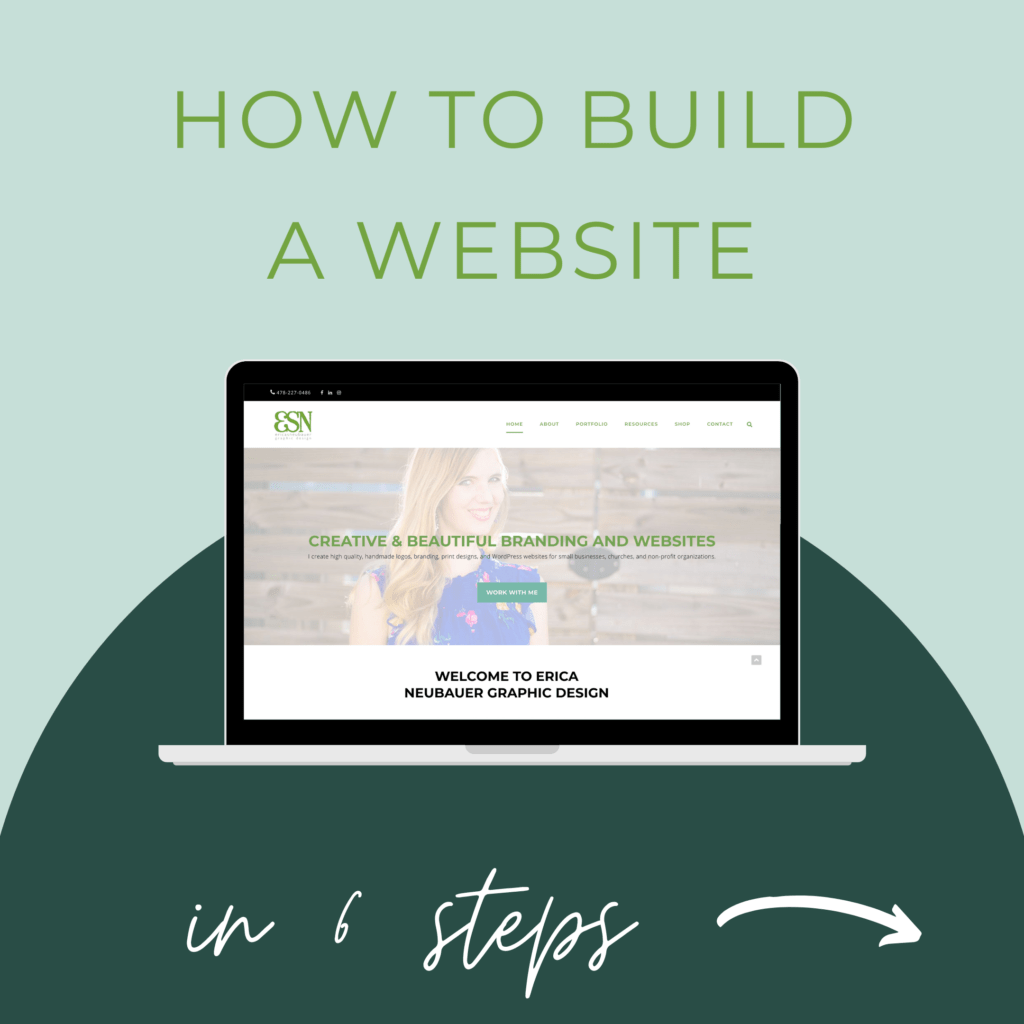
Step 4: Build all pages & add additional functionalities
Step 5: Test, test, and test some more
Step 6: Launch and celebrate!
I’ll cover each step in more but not exhaustive detail- and some technical aspects I’m just summing up. Again, this is to give you an overall game plan- I recommend persistence and keeping Google search open on your computer for when you get stuck.
Looking for specific technical assistance? I offer Wordpress, Squarespace or Shopify website edits at an hourly rate; contact me to request.
Step 1: Determine your goals, limitations and budget
Are you looking for something basic to get you started, or all the bells & whistles? How much time do you realistically have? What’s your initial and monthly budget? Each of those will determine what kind of website you can make, so be sure to spend some time researching what solutions will work best for you. For budget, costs vary but you’ll likely pay a monthly fee of $10-$20 a month and and a yearly fee for a domain name, plus possibly more for a template or extra plugins. Your biggest investment will definitely be the amount of time you will need to put into it- don't underestimate how long it takes to plan and write content, familiarize yourself with a website platform, and testing to ensure there are no issues.
Step 2: Pick a Platform, a template & create staging site
Platform: If you want a better, more advanced option with a higher learning curve, hands-down Wordpress (self-hosted, NOT wordpress.com) is your best option. It’s what I use with all my clients and is trusted by many major corporations. (Check out my Instagram post for reasons why Wordpress is the best). While not as DIY-friendly as some of the other options, I do know many solo entrepreneurs who have used it to DIY their website successfully. Unlike Shopify or Squarespace, you'll need to set it up via a web hosting service- my favorite Wordpress specific web host is Pair Networks, but almost every web host offers Wordpress hosting.
If you need something simple, I recommend Squarespace (just keep in mind that there’s a lot less template options and additional functionality options).
If you are needing an e-commerce website, I think Shopify is the easiest and quickest to set-up; I’ve created simple Shopify websites for clients in about 2 hours.
For more details comparing these options, check out my handy infographic.
Template: With any of these sites you’ll be needing a template to set the overall visual design. There are free version available for all platforms (I think Shopify wins here), but for Squarespace and Wordpress I recommend shelling out for a paid template- they are usually fairly inexpensive ($50-$60/yearly) and are usually so much better. You can browse paid templates within Squarespace and Shopify directly, for Wordpress go to themeforest.com for thousands of options, or look on Etsy. Pro tip: Search for “your business type Wordpress template” to find templates tailored to your niche.
Staging site: A staging site is simply a site that is not public yet so that you can build and test it. If you already have a website, usually your web host can help you create a staging site so that you don’t make edits on your current site. If you are starting from scratch, just be sure to create a “coming soon” page- (Shopify does this for you automatically). Create your new website account with Shopify or Squarespace, or sign up for webhosting if you’re using Wordpress. Then create your coming soon page (I use this plugin with Wordpress to do this) and install your theme.
Step 3: Develop your content & visual style
See this Instagram post about how to develop your written content, and make sure you follow basic SEO rules. Develop an overall style using your company’s branding (i.e. colors, font choices, button styles, etc). It may be helpful to create a wireframe at this point (you can do this with just a piece of blank paper and a pencil- create basic boxes/rectangles representing your content). For tips in developing your content, I like this article from Jacob McMillen. And don’t forget to consider what images you’ll use- always use high-quality images saved at web resolution (retina screens just aren’t forgiving for low-res images anymore).
Step 4: Build all pages and add functionality
Turn your written content into web pages with your photos, titles and calls-to-actions. Besides the basic pages such as Home, About, Contact, Privacy Policy (don’t skip this!), make sure you have your business specific pages (e-commerce? Have a returns policy page. Service provider? Make sure you list what services you offer). Also add the additional functionality you need- such as contact forms, Instagram feed (see my post explaining how here), a calendar booking plugin, etc.
Step 5: Test, test and test some more
Go through every page. Use a link checker to scout for broken links (use this handy tool). Check it on a mobile phone, laptop, and desktop. Check it on Iphone and Android. And get your friends to check it as well. Make sure everything is displaying properly (most common issues- photos getting cropped badly or text getting cut off on mobile phones). This is an important step so don’t skip it!
Step 6: Launch and celebrate!
Once you’re convinced everything looks good, remove your coming soon page and connect your live domain (if you haven’t already done so). Launch and announce on your social media pages. Congratulations- you’ve just built a website!